Update Your CRM, Send An Email And Add The Lead To A Nurture Campaign When A Proposal Is Lost

1. Ignition
2. Gmail
3. Pipedrive
Then, we'll need to update the deal in our CRM to a "Lost" status. In this case we're using Pipedrive. Zapier will find the existing active deal and move it to a "Lost" status automatically:

4. MailChimp
Just because this lead declined one proposal doesn't mean that they won't need your services in the future. If you strategically follow up with them, then your business will be top of mind when they are looking for the services that you offer later down the road. The last step in our Zapier sequence is to add the lead to a nurture contact list in MailChimp:
Make this Zap⚡️
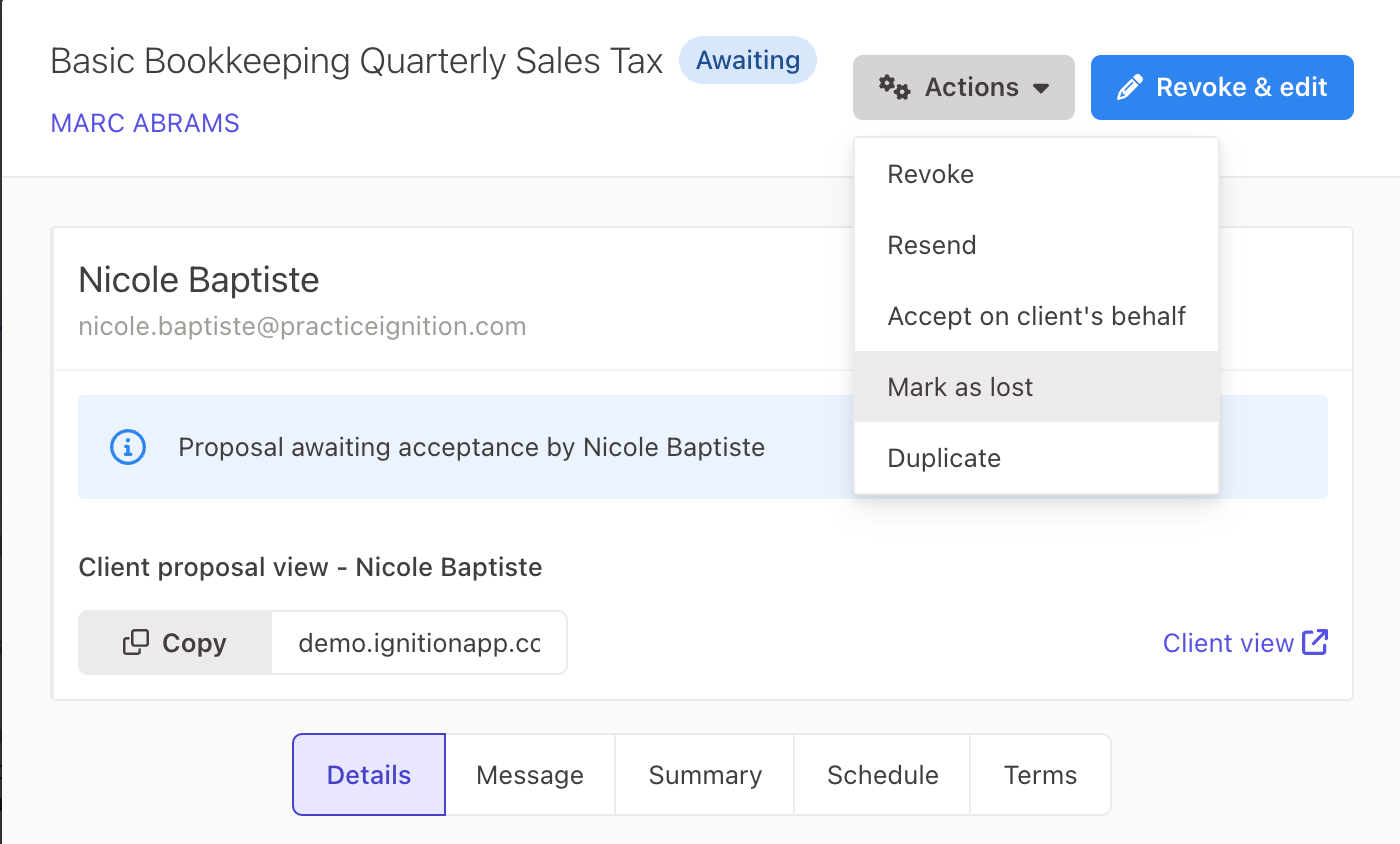
Step 1 - Ignition > Proposal State Changed
Step 2 - Filter by Zapier
Next, search for the Filter By Zapier app. Choose the only option (Only Continue If...)
and add the following:
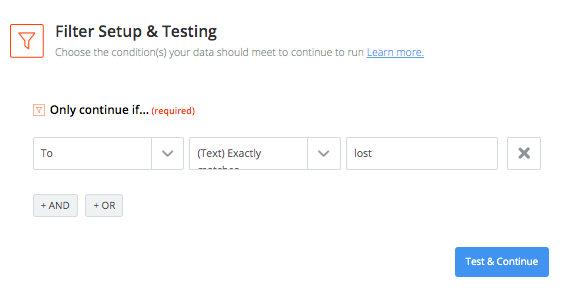
To CRITERIA: (Text) Exactly Matches TEXT: lost
This will ensure that we're only allowing this Zap to continue if the proposal status is marked as "Lost", as opposed to happening every time a proposal state changes.
Step 3 - Pipedrive > Find or Create Deal
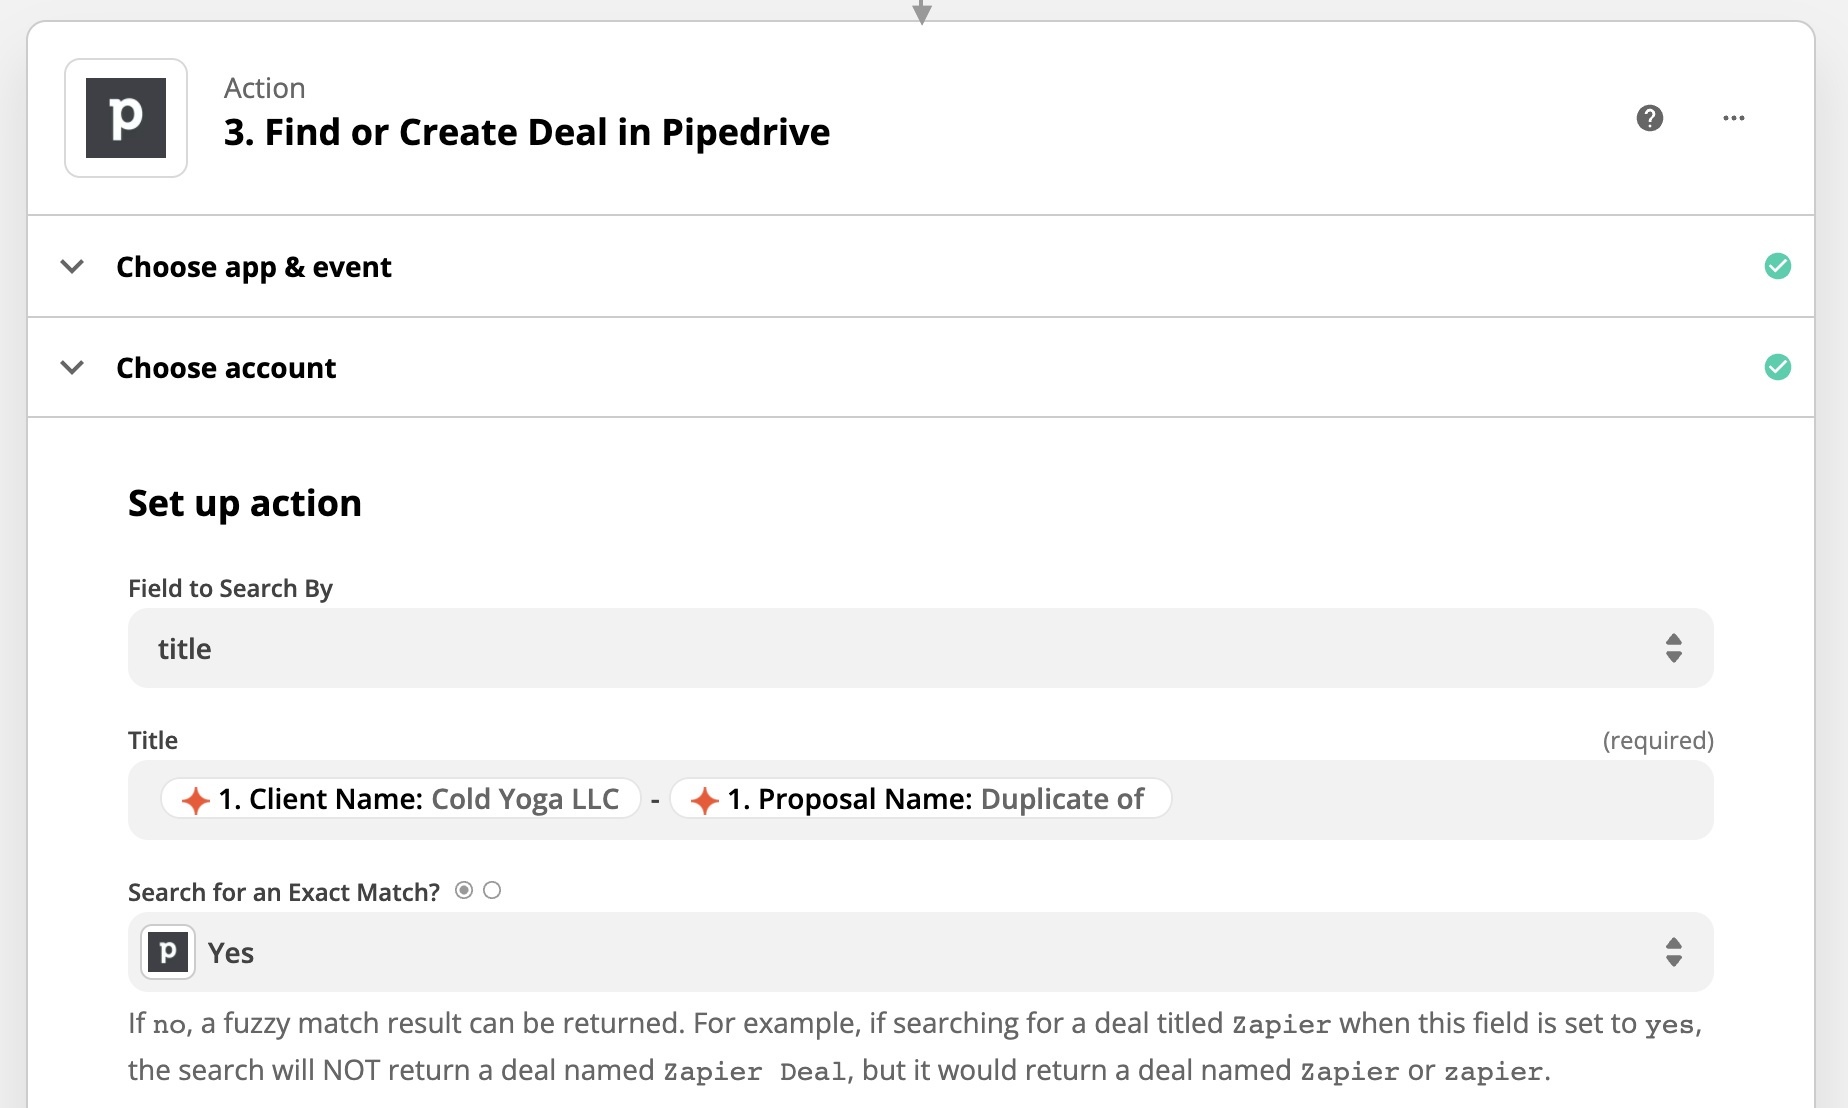
To ensure that the deal is in Pipedrive, we'll need to use the "Find or Create Deal" action before we can update it to a lost state.

Step 4 - Pipedrive > Update Deal
Now we'll need to search for Pipedrive and select the "Update Deal" trigger:
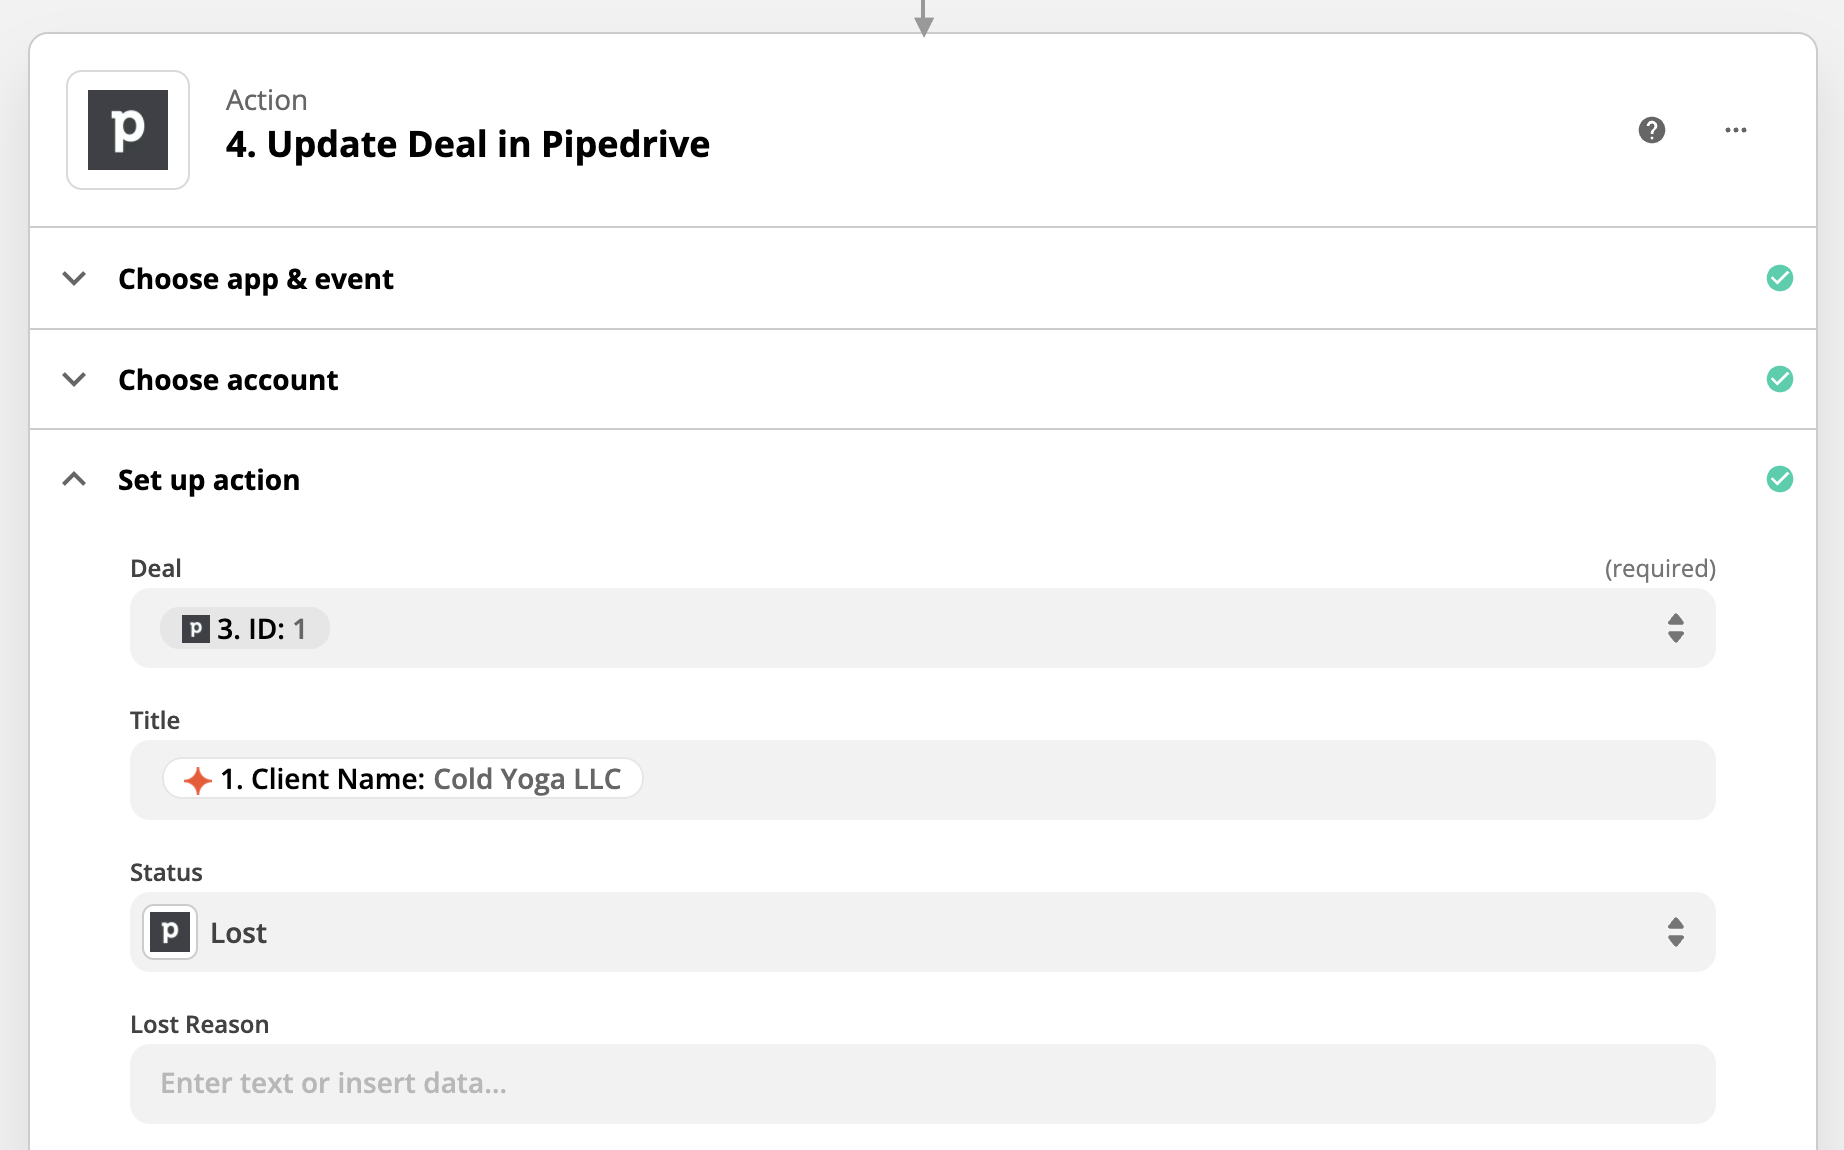
You can pull through the name of a deal that you currently have in your Pipedrive account in the "Deal" field, and set the Title to the "Client Name" from the Ignition dropdown. The status that you will want to select is the "Lost" status in your Pipedrive account.
We also recommend adding the client name in the "Organization" field and the proposal value from the Ignition dropdown in the "Value" field. I have also added in my local currency in the "Currency" field.
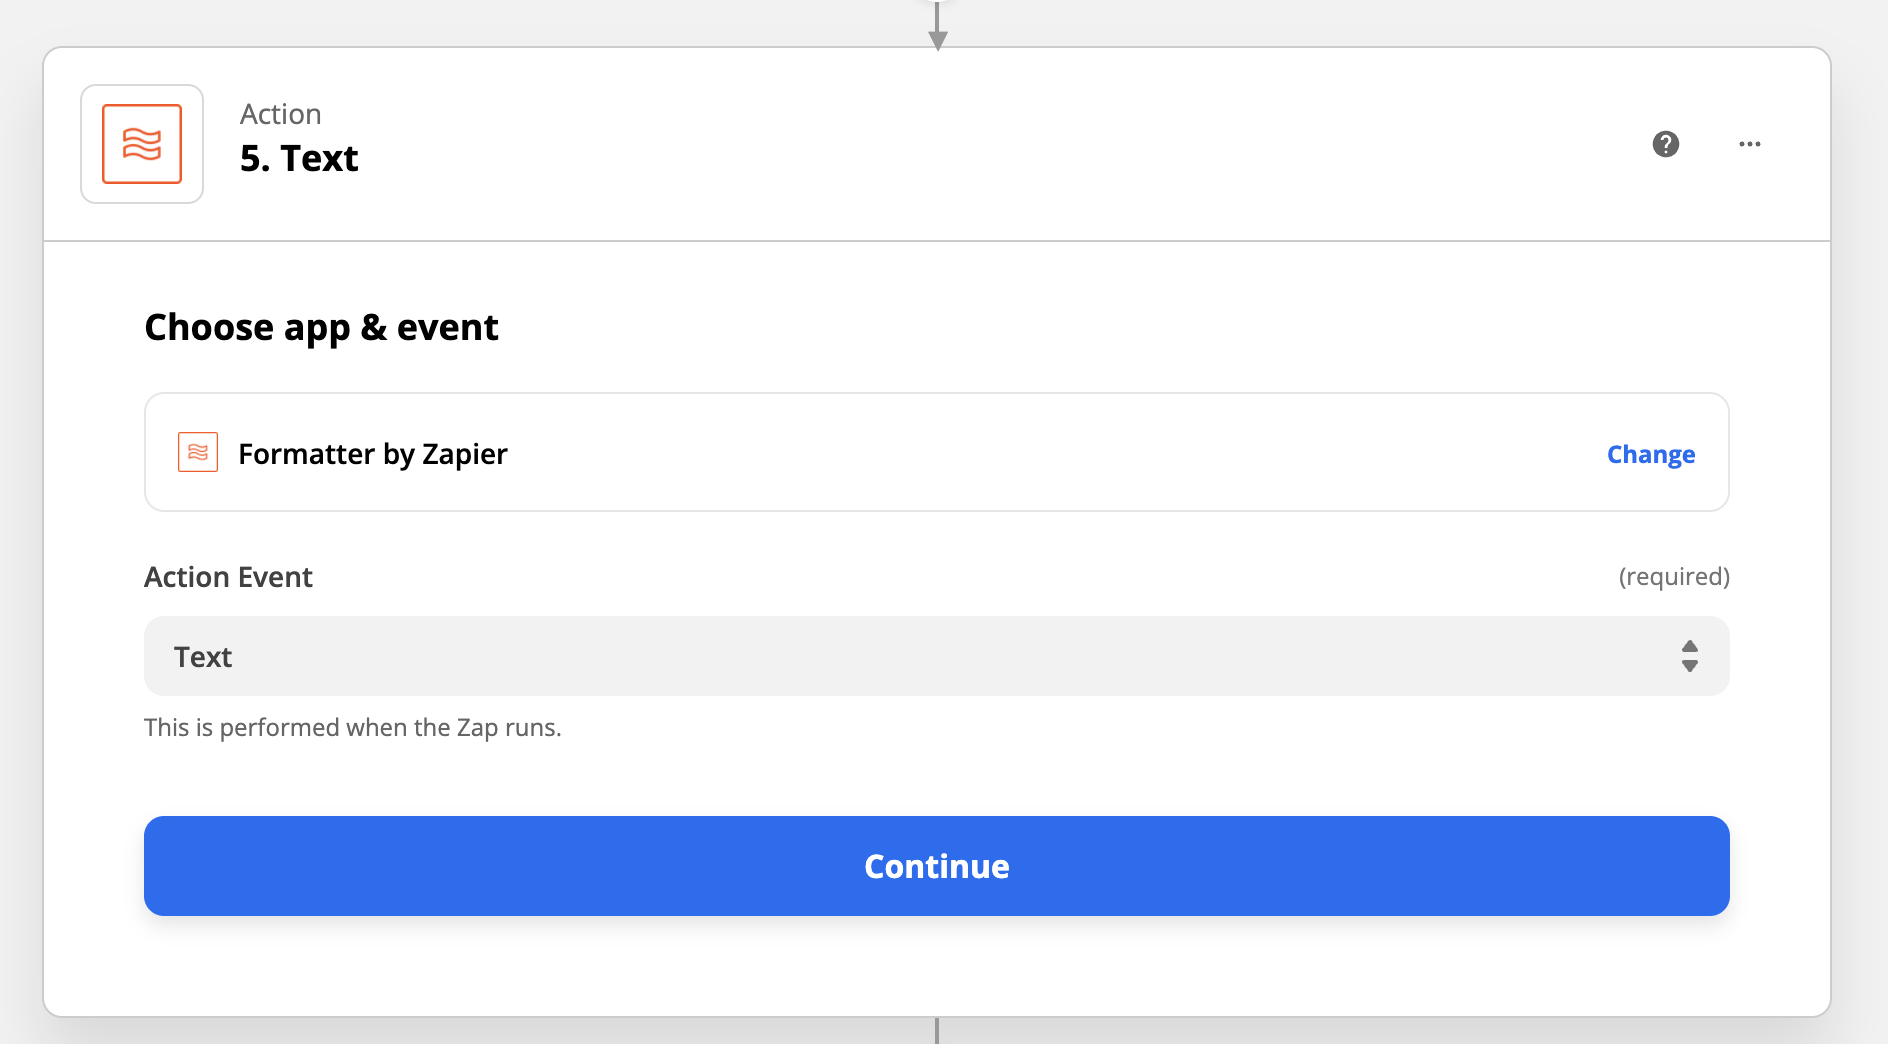
Step 5 - Formatter by Zapier
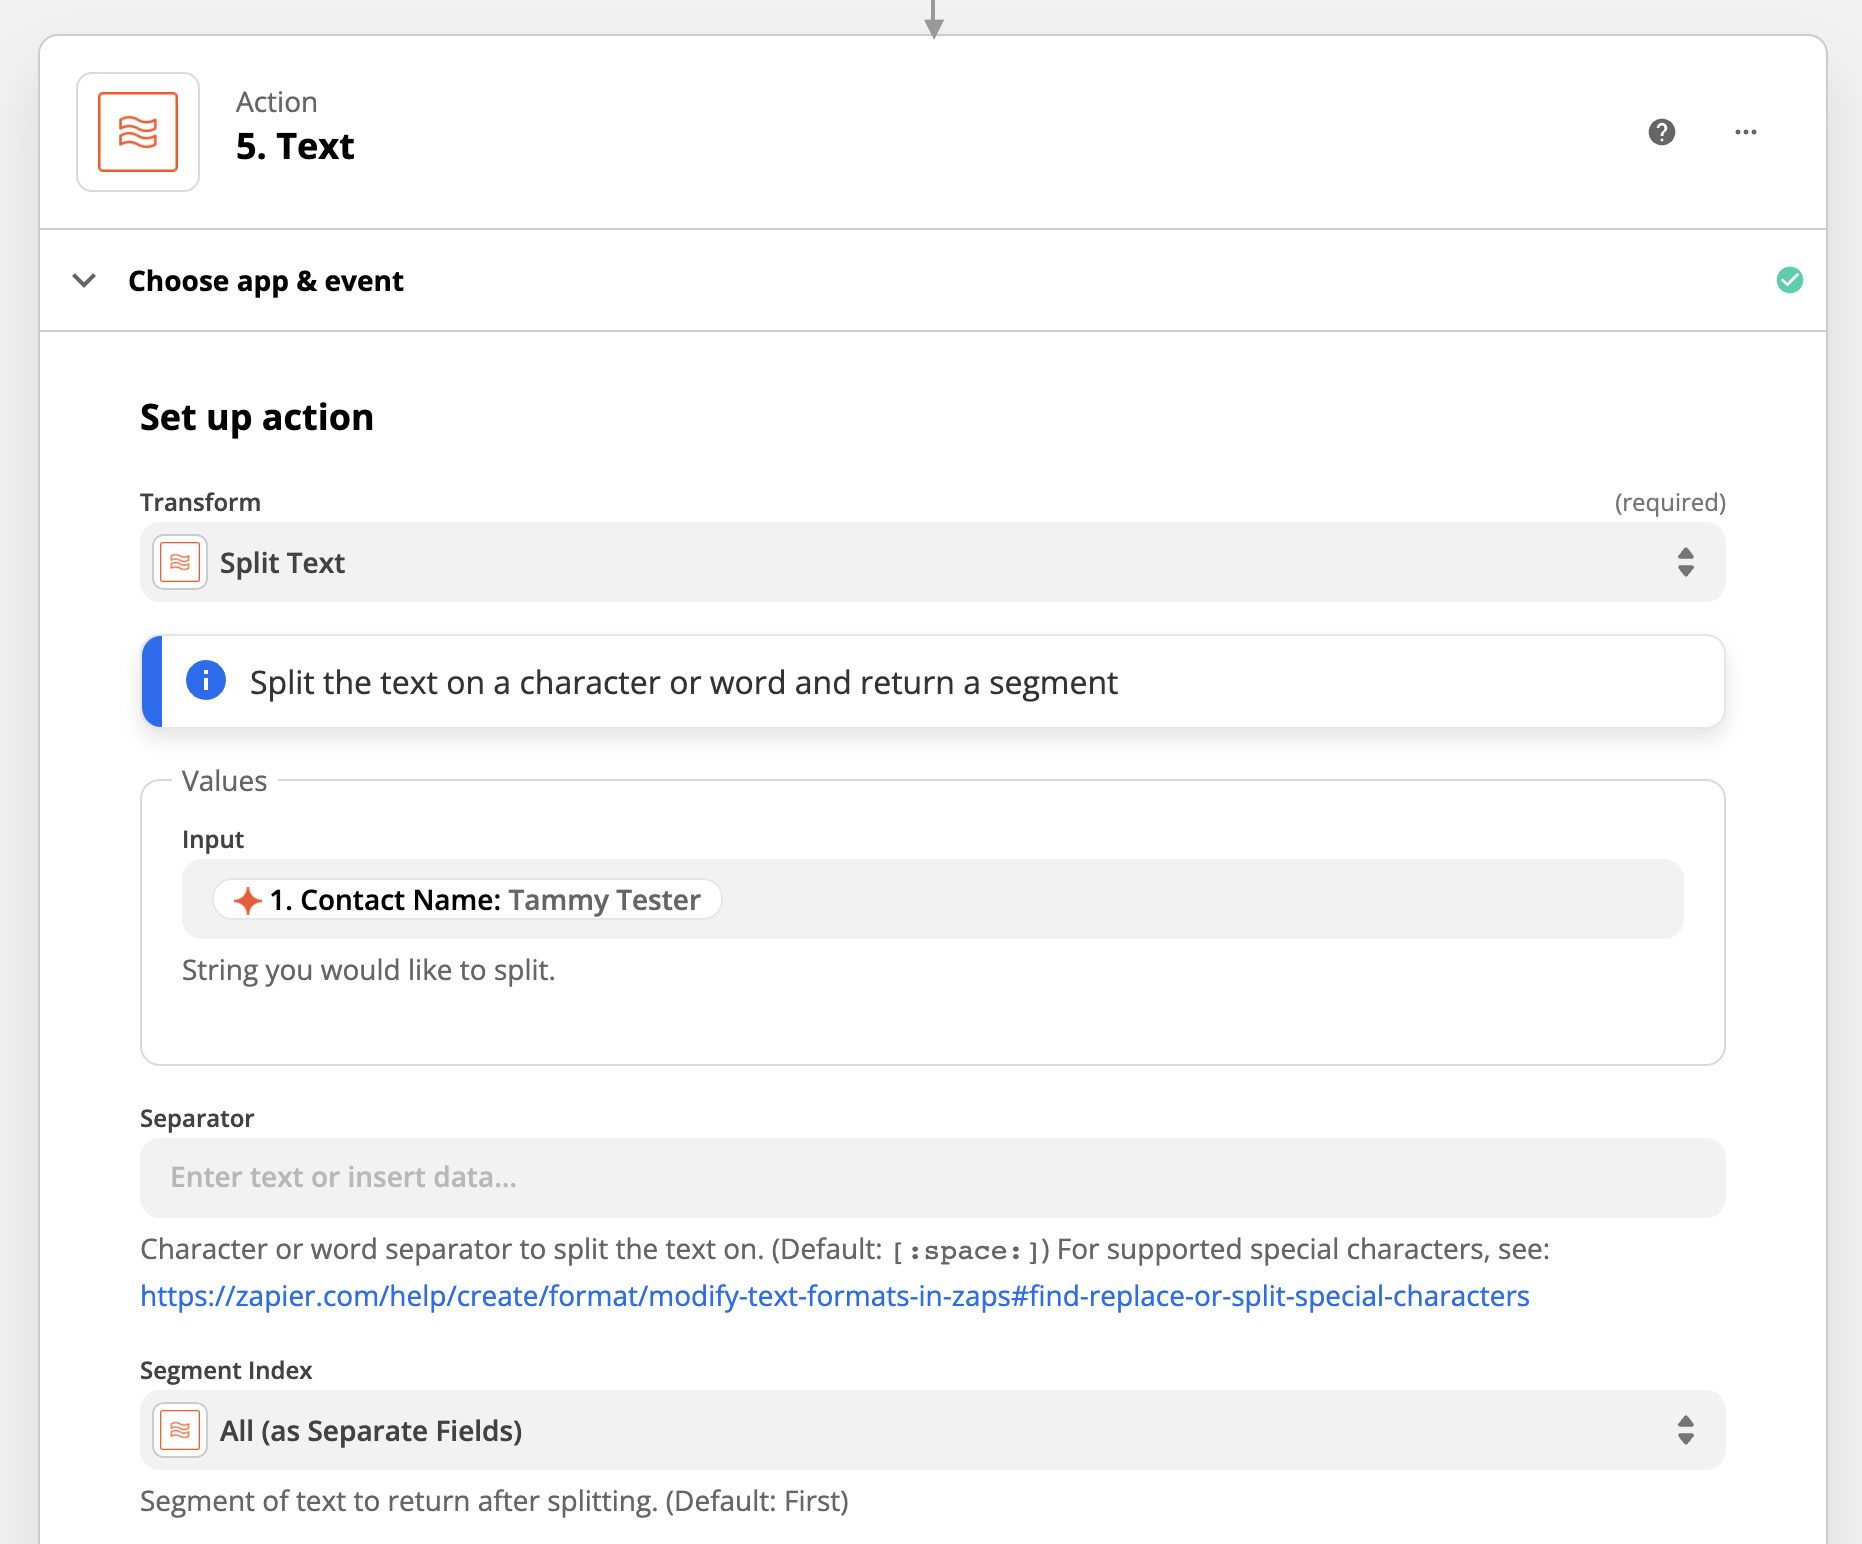
If you have ever used Ignition in Zapier before, you might have noticed that you can't split the contact name of your client into two separate fields. However, this is possible through Zapier's Formatter app:
Step 6 - Gmail > Send Email
In this example, we're going to use Gmail as our email client to automatically send an email to our lead asking them for their feedback via a Typeform questionnaire. First, find the Gmail app and select the "Send Email" action:
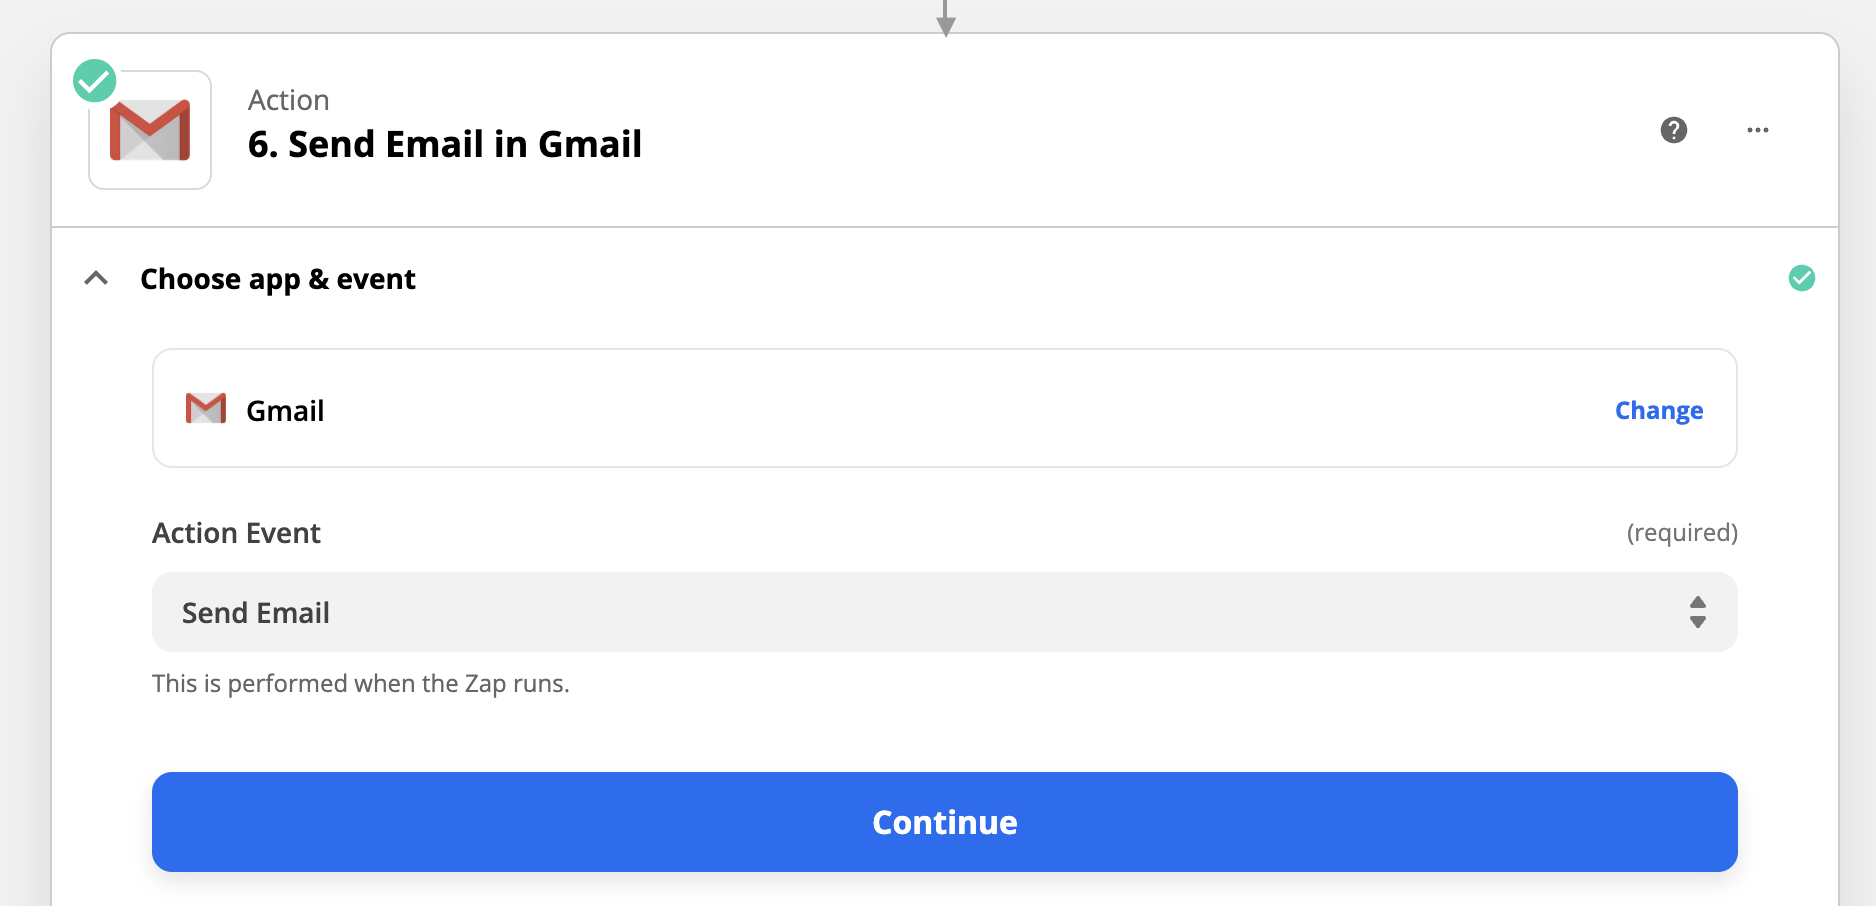
You can connect to your Gmail account, and then work on the email template.
The first field we need to fill out will be the "To" field, where we will add the email address of the contact from the Ignition dropdown. You can also add your own email in the "Bcc" field if you would like to receive a copy of the email. I have also added in my email address and business name in the "From" and "From Name" fields, respectively.
We can now use the split text from the last step to address the contact by their first name only - to do this, add in the first name output from the Formatter by Zapier in place of where their name would be in the email body. In our email template, we have included a link to a Typeform questionnaire that will be used to collect feedback from the lead. Feel free to use this format for your own email template:
Hi {{ FIRST NAME }},
Thank you for allowing us the opportunity to better understand your business needs. We would love to collect some feedback from you as to what we could have done better at the link below:
{{ INSERT TYPEFORM LINK HERE }}
Thanks again for providing us with the opportunity to work with you and we hope to have the chance to connect in the future.
All the best,
{{ YOUR BUSINESS NAME HERE }}
Step 7 - Filter by Zapier
In theory, you wouldn't want to add a contact into a nurture email campaign when they are already an existing client, so this next step is important. We're going to use the Filter app to ensure that we're adding the contact into your MailChimp audience only when they haven't accepted a proposal from you yet in Ignition:

Choose the only option (Only Continue If...) and add the following:
Proposal Accepted By > Does not exist
Step 8 - MailChimp > Add/Update Subscriber
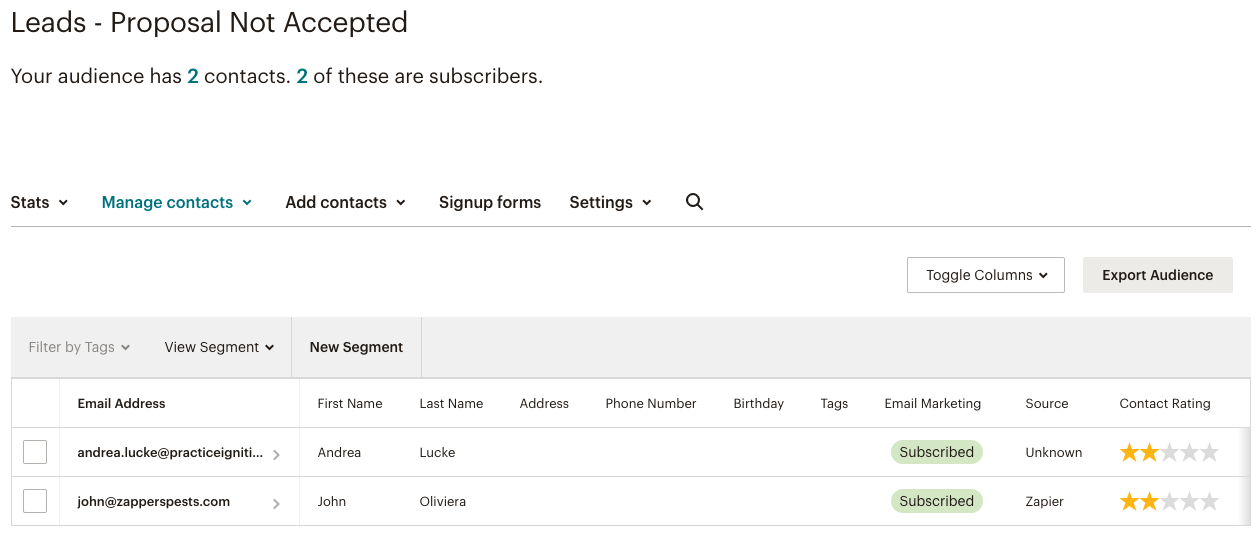
The final step will be to add the lead into your audience list in MailChimp. We've created an audience called "Leads - Proposal Not Accepted" that we'll be working with for this example. First, you'll need to connect your MailChimp account to Zapier and select the "Add/Update Subscriber" action:

We'll then add the contact to the "Leads - Proposal Not Accepted" audience and add their email in the Subscriber Email field:
Next, we're going to use that split text feature to enter in the contacts first and last name in the respective fields:


